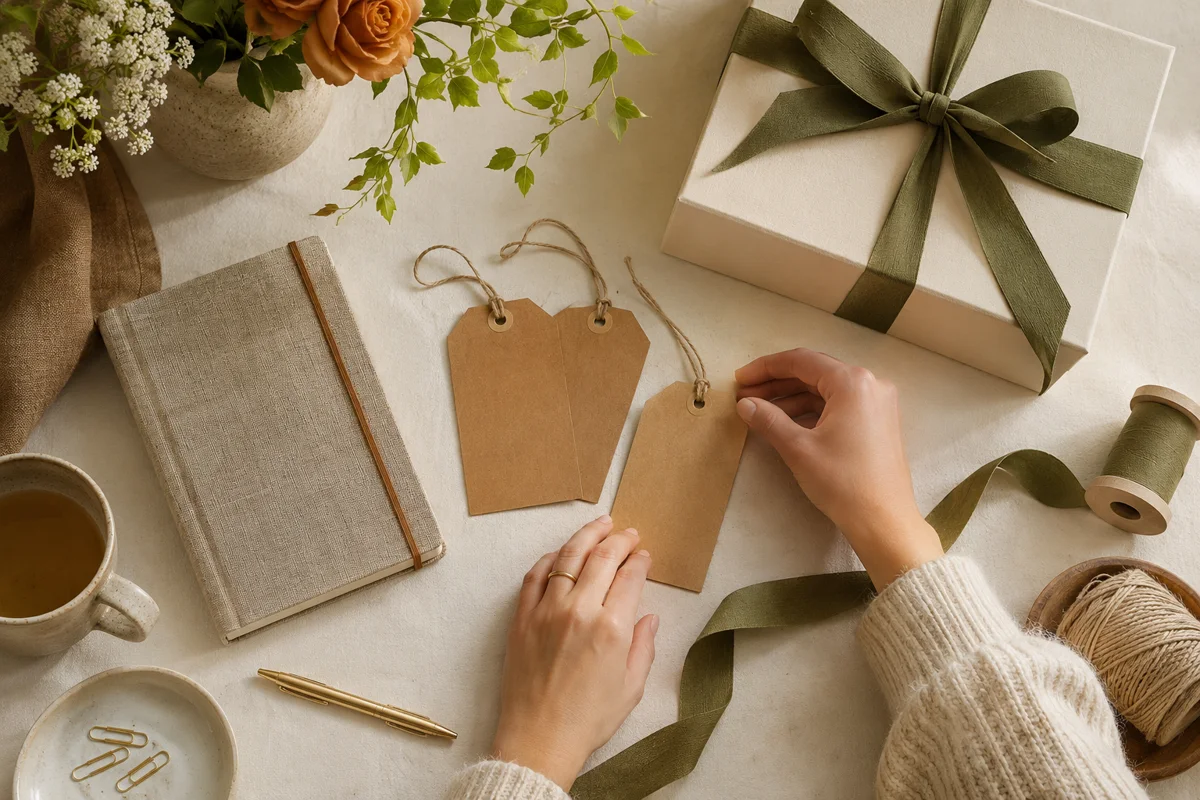
“Perfect” does not mean expensive, elaborate, or permanently engraved. It means a good fit between a person, an occasion, and an object or experience. This guide takes you from an open-ended idea to a clear brief you can check before ordering, with a fallback when the custom route is not suitable.
Step 1: Define the recipient, without stereotypes
Write three observations about the person. Use concrete evidence: they take tea to work, they keep printed photographs, or they enjoy repairing bicycles. Avoid broad categories such as age or gender as your main reason. A useful gift responds to an actual habit or preference rather than a marketing label.
Next, identify one constraint. They may have limited space, dislike visible names, need easy-care materials, or already own specialist equipment. Constraints are helpful because they remove weak options. A small apartment does not rule out a meaningful gift; it points toward something compact, consumable, digital, or experience-based.
Finally, consider your relationship. An intimate inscription from a partner may feel awkward from a colleague. A gift opened at a public celebration needs a different level of privacy from one exchanged at home. Choose a tone the recipient can accept comfortably without performing a reaction.
Step 2: Give the gift one clear job
Decide whether you want to support a routine, preserve a memory, or mark a milestone. One gift can do more than one thing, but a primary purpose helps you choose the format. A notebook supports a routine; an edited album preserves a memory; an ornament can mark a first holiday in a new home.
Use this sentence: “I am choosing this because you ____.” If the blank is difficult to fill, the connection may be too generic. A personal note can communicate the reason more naturally than a long permanent inscription. Do not ask the product to carry every emotion or story at once.
For a shared gift, confirm that the purpose includes both people. A cooking-related item may be right for enthusiastic home cooks but wrong if only one partner cooks out of necessity. Our couples guide offers examples based on shared routines rather than relationship labels.
Step 3: Choose the base item before the decoration
Check function, dimensions, materials, and maintenance before considering fonts. A beautiful engraved object can still be the wrong size. Compare the dimensions with something familiar or make a paper outline. For an organizer, measure the objects it needs to hold; for artwork, include the frame in the space calculation.
Look at the care instructions for the finished customized item. A print, coating, or stitched area may affect how it should be cleaned. Avoid assuming that an entire product is dishwasher-safe, machine-washable, or food-contact suitable because its base material often is. Follow the particular seller's documented instructions.
If the object is wearable, confirm fit and composition. If it is a photo gift, confirm image resolution and cropping. If it is an experience, check scheduling, accessibility, and booking terms. The more specific the use, the more important it is to verify the details before adding personalization.
Step 4: Select one meaningful detail
Names, dates, handwriting, photographs, coordinates, and short phrases all work in the right context. Choose the smallest amount of information that makes the connection clear. A single initial may suit a daily accessory, while a photo book can carry a longer story across several pages.
Confirm spelling from a reliable source, including accents and preferred names. Spell out the month if a numeric date could be read two ways. Check coordinates on a map. Get permission before reproducing someone else's handwriting, artwork, or private photographs. Keep addresses and sensitive messages off objects likely to be seen publicly.
Avoid overloading the design. Extra names and sentences can reduce legibility or force awkward line breaks. View the proposed text at approximately its finished size. A layout that looks clear on a large screen may be difficult to read on a small pendant or ornament.
Step 5: Build a proof you can actually review
| Review pass | What to check | Example of a preventable error | | Text | Names, accents, dates, punctuation | A correct name with a missing accent | | Layout | Alignment, crop, spacing, font | A face too close to an album binding | | Product | Size, color, material, quantity | Ordering one item instead of a pair | | Delivery | Production, dispatch, transit, address | Treating a shipping estimate as total lead time |
Keep the final text in one document and paste it carefully into the order. If more than one person is involved, appoint one approver. Ask the seller what the preview represents: a visual approximation, a digital proof, or a photograph of the actual item. Screen colors and natural materials can vary, so clarify what variations are expected.
Read the proof once for meaning and again character by character. Check the preview against the original brief, not from memory. Save the approved version with the order confirmation. If you request a revision, ensure you are approving the newest file rather than an earlier attachment.
Step 6: Compare the full purchase, not just the price
Include customization charges, shipping, proof fees, packaging, and any stated taxes in your budget. Read how the seller handles cancellation, buyer-entered mistakes, damaged items, and products that differ from the approved design. These situations may follow different policies; do not assume one blanket rule covers them all.
The FTC's online shopping guidance is a useful starting resource for comparing sellers and keeping purchase records. For a custom order, preserve the listing, messages, confirmation, and approved proof. Ask unresolved questions before paying rather than relying on a product photo or promotional headline.
A low price is not automatically poor value, and a premium price does not prove quality. Look for clear specifications, usable photographs, and a transparent process. If essential information remains unavailable, choose a different seller or a simpler gift. Personalization should add meaning without making the transaction needlessly uncertain.
Step 7: Plan the handover and a fallback
Count production, proof revisions, transit, and inspection as separate stages. Work backward from the day you need the gift in hand. Busy seasons, weekends, and holidays may affect the seller's schedule, so use the current product-specific estimate instead of an old order experience or another product's deadline.
When the item arrives, inspect it before wrapping. Check the object against the proof and follow the seller's process promptly if something differs. Keep care instructions with the gift. A small card explaining the personal detail helps the recipient understand the connection without requiring an elaborate reveal.
If customization is no longer practical, choose a complete alternative: a well-suited standard item with a letter, an experience they want, or a small gift tied to a shared memory. A fallback can still satisfy the original purpose. See the holiday guide for seasonal timing decisions.
Your order-ready brief
Before checkout, write down the recipient, intended use, selected item, dimensions, exact personalization, privacy considerations, full budget, and required arrival date. Any blank field that affects the choice deserves another check. This short brief is more useful than an ever-growing list of attractive products.
What if I cannot verify a name or date?
Remove the uncertain detail or choose a different kind of personalization. A meaningful image, place, or note can work without risking a permanent error.
Can I personalize a gift myself?
Yes. A hand-written recipe collection, a carefully edited album, or a fabric wrap with a note can be personal without a commercial customization service. Match the method to your time and skills, and keep the recipient's preferences at the center.